The print is step one. For miniature painters, post-processing determines whether a model looks amateur or professional — and the workflow differs dramatically between resin and FDM.
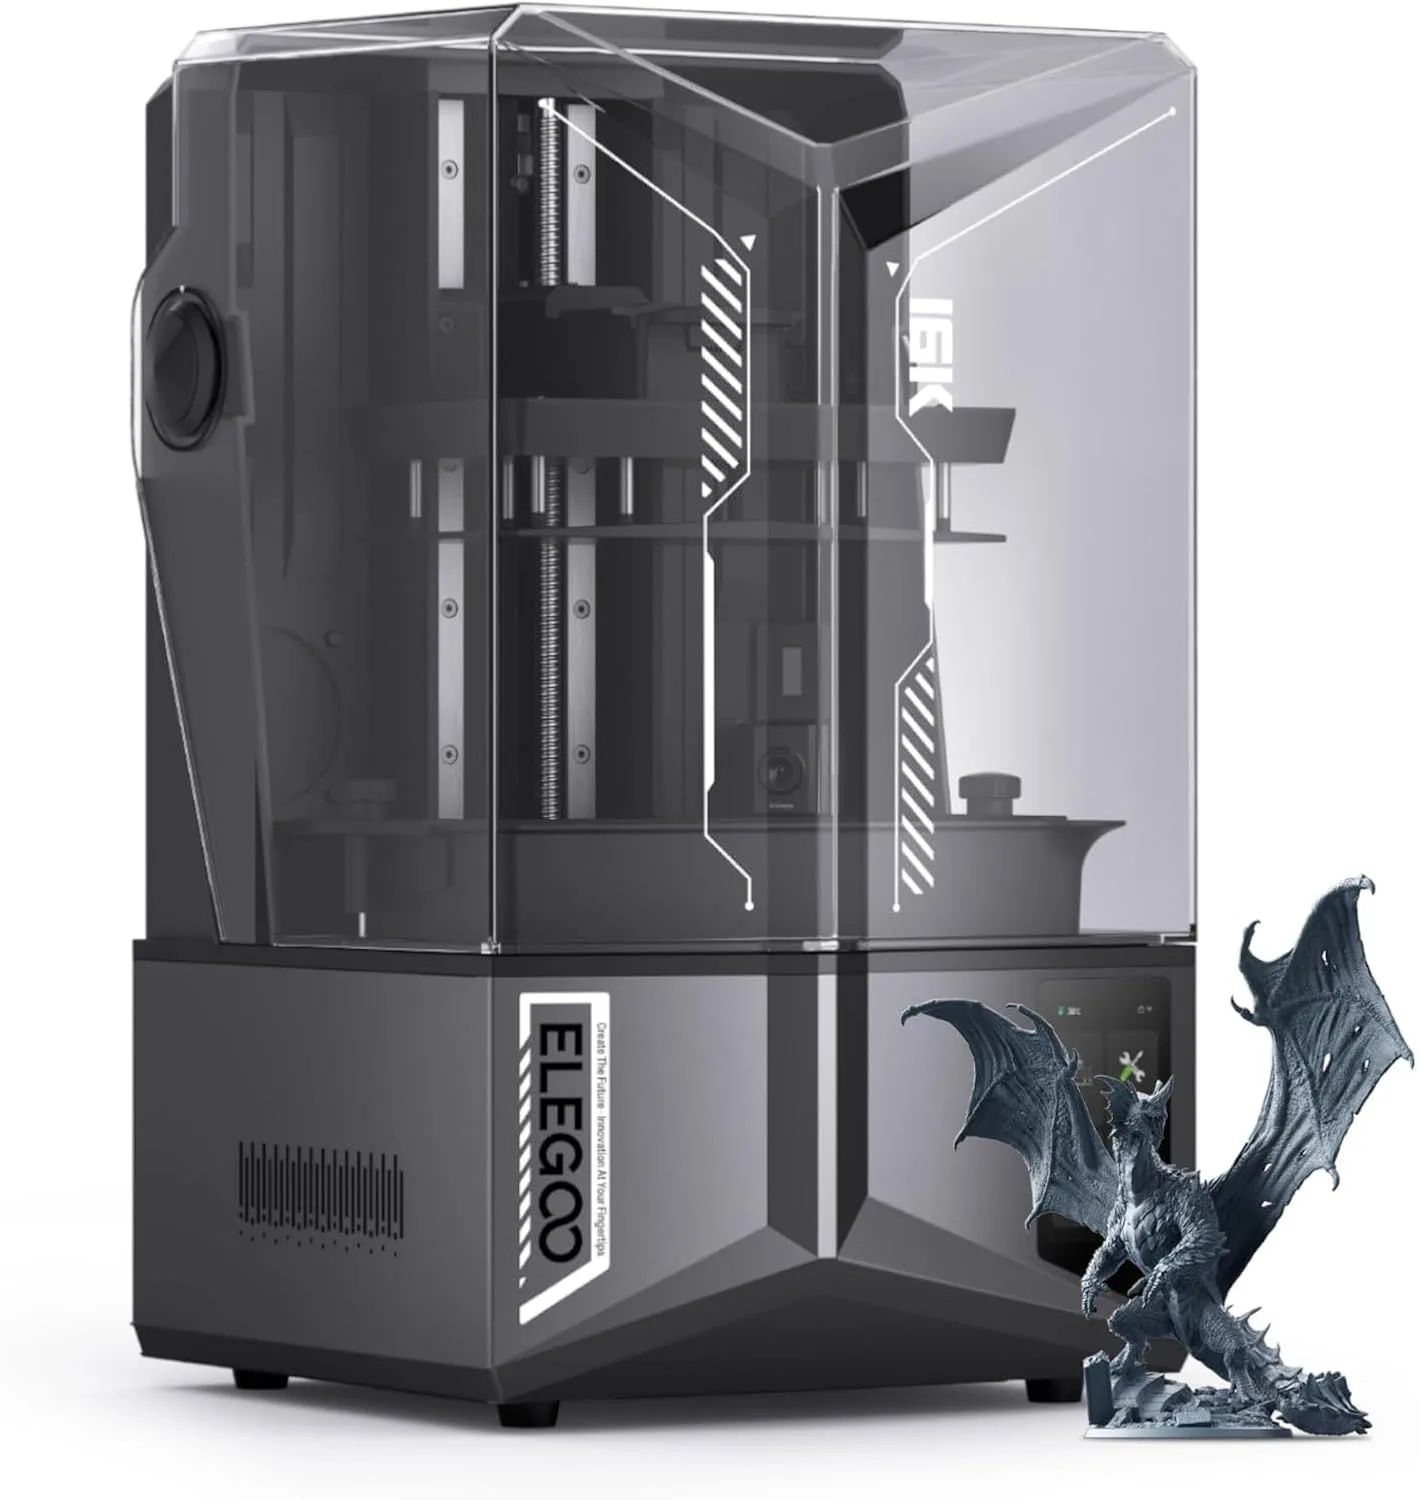
Resin post-processing is a three-stage pipeline. First: washing. Submerge the printed model in 99% isopropyl alcohol (IPA) for 2-3 minutes in a wash station. This removes uncured liquid resin from surfaces, crevices, and support contact points. Skip this step and the model stays tacky, attracts dust, and paints poorly. Second: UV curing. Place the washed model in a curing station under 405nm UV light for 3-8 minutes depending on resin type. This hardens the surface to full rigidity and prepares it for paint adhesion. Third: support removal. Snip supports with flush cutters at the contact points, then sand the nubs smooth with 400-600 grit sandpaper. The tilt-release system on the Saturn 4 Ultra produces smaller support contact points than older peel systems, reducing post-processing time per model.
FDM miniatures require different preparation. Layer lines are the primary challenge — at 28mm scale, even 0.1mm layers are visible as horizontal ridges on curved surfaces. Three approaches work: sanding (labor-intensive but effective with 220-to-600-grit progression), filler primer spray (fills layer lines chemically — Rust-Oleum filler primer is the community standard), or matte PLA (Polymaker PolyTerra's mineral additives reduce layer line visibility by 60-70% without sanding). For terrain pieces and larger models where close inspection is less likely, FDM at 0.12mm layer height produces acceptable results without any post-processing.
Paint adhesion depends on surface preparation. Resin models accept primer directly after curing — the cured surface has micro-roughness that primer bonds to effectively. FDM models need a light scuff with 400-grit sandpaper before priming, especially glossy PLA. The community standard workflow: scuff, spray primer (gray for most models, white for bright color schemes, black for dark or metallic schemes), then paint with acrylics. Citadel, Vallejo, and Army Painter are the dominant miniature paint brands — all formulated for the thin layers that miniature painting requires.
Batch printing changes the economics. A single miniature on the Saturn 4 Ultra takes 2-3 hours regardless of whether you print one or fill the entire build plate. A full plate of 20 identical miniatures takes the same 2-3 hours — the UV exposure cures all models simultaneously. Resin cost per miniature drops from roughly half a dollar per piece to pennies per model in a batch of 20 when you factor in the fixed wash and cure overhead. For tabletop gaming groups that need entire armies, resin batch printing produces 100+ miniatures per weekend at a fraction of the cost of purchasing pre-painted or pre-cast models.
FDM terrain printing follows the same batch logic at larger scale. A single 150mm dungeon tile prints in 45 minutes on a Creality K2 SE at 0.2mm layer height. Running the K2 SE overnight with 8 tiles queued produces a full dungeon floor set by morning. PLA terrain is durable enough for regular gaming use — tiles survive being thrown in a box, stacked, and transported to game night without breaking. The combination of resin character miniatures and FDM terrain is the workflow that most dedicated tabletop groups converge on after experimenting with both technologies.
Storage matters for long-term collections. Cured resin miniatures are UV-sensitive — prolonged sun exposure causes yellowing and brittleness over 6-12 months. Store resin models in opaque cases or display them away from direct sunlight. PLA miniatures are moisture-sensitive and can warp in high-humidity environments above 60% relative humidity. A sealed display case with silica gel packets protects both types. For painted models, a clear matte varnish spray provides a protective layer against handling wear and minor UV exposure. Two thin coats, 30 minutes of drying between coats, provides years of protection for models that get handled during gameplay.